Management of the agenda
Administration > Management of the agenda
Management of the agenda.
List of planned events. Use arrows under titles to alternate between ascending and descending order (see image as an example).

- 1. Search
Select page number and/or number of items per page.
- 2. Details
Click to see details of selected event.

Details admin events.
6. Start date
7. End date
8. Insertion date
9. Title
10. Message creator
11. Content
BACK: Go to previous screen without saving.
EDIT: Modify details. See sub-section Edit below to know more.
DELETE: Delete event. You will be asked to confirm.
- 6. Start date
- 6. Start date
- Starting date of event.
- 7. End date
- 7. End date
- Ending date of event.
- 8. Insertion date
- 8. Insertion date
- Date and time of creation or last update.
- 9. Title
- 9. Title
- Title of event in all available languages.
- 10. Message creator
- 10. Message creator
- Name and email address of creator.
- 11. Content
- 11. Content
- Text of event in all available languages.
- 3. Edit
Modify / complete information about the event.
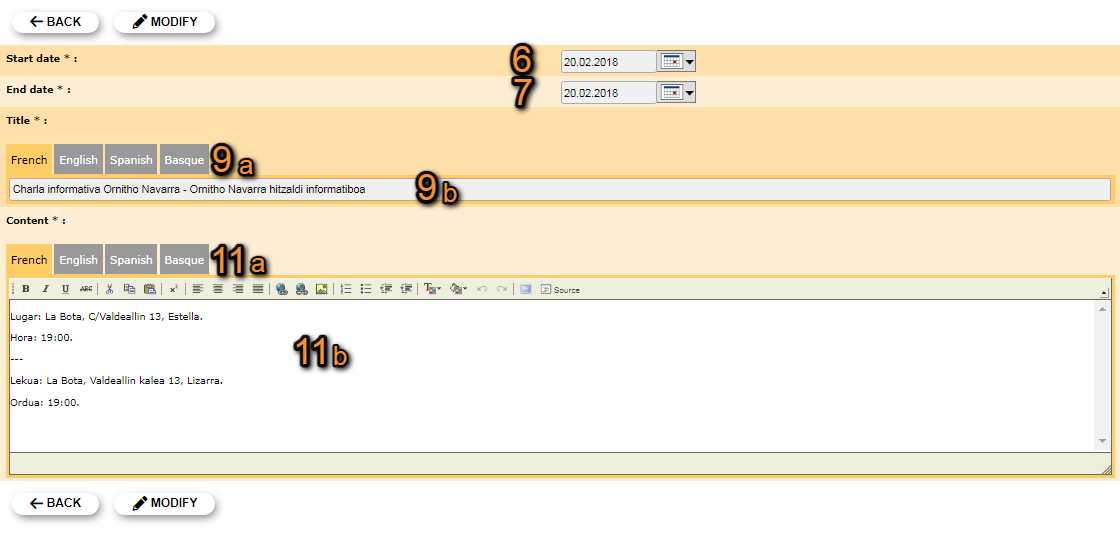
Edit admin events.
6. Start date
7. End date
9. Title
11. Content
BACK: Go to previous screen withoust saving.
MODIFY: Save changes.
- 6. Start date
- 6. Start date
- Modify starting date of event by clicking on the calendar and selecting a date from the expandable menu.
- 7. End date
- 7. End date
- Modify ending date of event by clicking on the calendar and selecting a date from the expandable menu.
- 9. Title
- 9. Title
- Modify / add event's title by selecting a language from the tabs on top (a) and typing title in the selected language (b). Repeat process for any other language.
- 11. Content
- 11. Content
- Modify / add event's information by selecting a language from the tabs on top (a) and typing the text in the selected language (b). Repeat the process for any other language.
- 4. Delete
Delete the selected event from the list. You will be asked to confirm.
- 5. NEW
Create a new event.

Adding a new event.
6. Start date
7. End date
9. Title
11. Content
BACK: Go to previous screen without saving.
ADD: Save new entry.
- 6. Start date
- 6. Start date
- Indicate a starting date of event by clicking on the calendar and selecting a date from the expandable menu.
- 7. End date
- 7. End date
- Indicate an ending date of event by clicking on the calendar and selecting a date from the expandable menu.
- 9. Title
- 9. Title
- Add event's title by selecting a language from the tabs on top (a) and typing title in the selected language (b). Repeat process for adding a different language.
- 11. Content
- 11. Content
- Add event's information by selecting a language from the tabs on top (a) and typing the text in the selected language (b). Repeat the process for adding a different language.