SHOC Sites (Admin)
SHOC_SITE
Access your protocol from Menu > Take part > All my protocol > SHOC Sites
For other options, visit wiki section Administrators > Protocols > Accessing protocols.
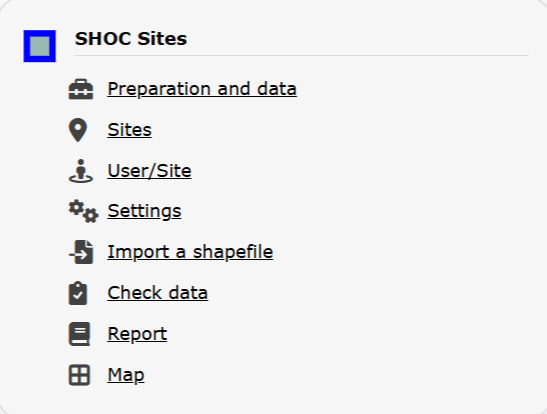
SHOC Sites. Admin menu.
SHOC Sites
-
1 Preparation and data
2 Sites
3 User/Site
4 Settings
5 Import a shapefile
6 Check Data
7 Report
8 Map
SHOC_SITE Preparation and data
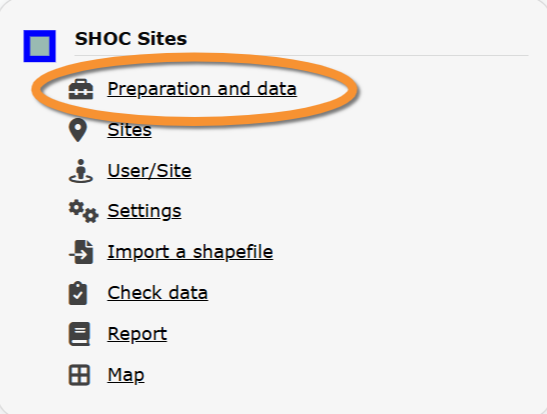
SHOC Sites. Preparation and data.
Identical section to the one available to registered users with rights to the SHOC. Sites.
See wiki section Web interface > Protocols > SHOC Sites > Preparation and data for more information.
[Top to Preparation and data]
[Back to SHOC Sites RNF protocol]
SHOC_SITES Sites
CREATE A NEW SITE:
1. Directly by Transmit my sightings map
or
through Menu > Administration > Protocol administration > SHOC Sites > Sites> +NEW button
2. Select new site as if Submitting records
3. Choose Create a protocoled census -SHOC Sites
4. Select one of the two random squares.
5. Name the new site
5. Draw transects or import shapefile
6. SAVE
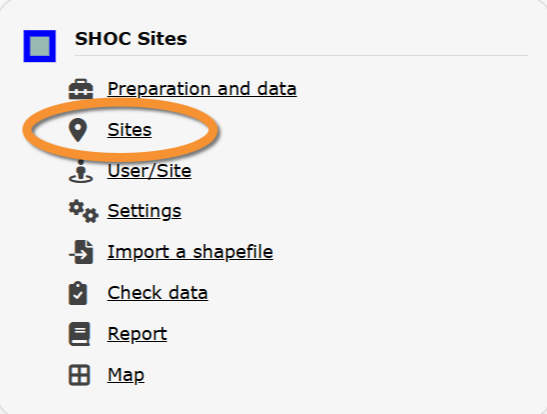
SHOC Sites. Sites.
List of all existing sites allowing a SHOC protocol.
Visit wiki section Administration > Protocol management > Sites for more information.
Both users and administrators can create a new site. Visit wiki section Web interface > Local portal > Protocols > SHOC Sites > Selection of study site.
[Top to Sites]
[Back to SHOC Sites RNF protocol]
SHOC_SITE User/Site
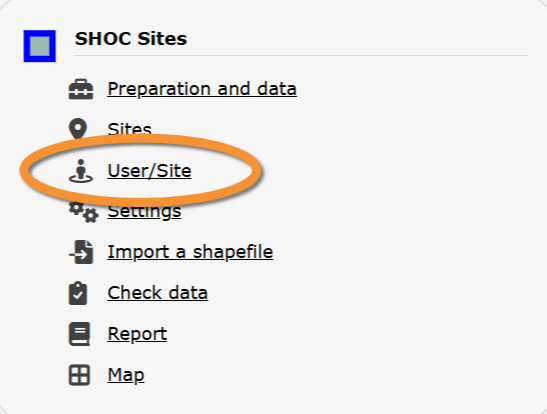
SHOC Sites. User/Site.
From the menu, select User / Site to assign users to study sites.
Visit wiki section Administration > Protocol management > User/Site for more information.
[Top to User/Site]
[Back to SHOC Sites RNF protocol]
SHOC_SITE Settings
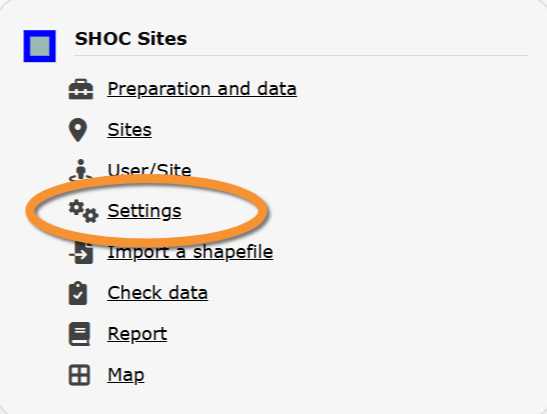
SHOC Sites. Settings.
Set protocol parameters.
Visit wiki section Administration > Protocol management > Settings for details.
Parameters describing the protocol
Expand the table below to see all posible parameters and options available for the SHOC Sites protocol. Use arrows on headers to alternate between ascending and descending alphabetical order.
| SHOC Sites. Parameters. | ||||||||||
|---|---|---|---|---|---|---|---|---|---|---|
| Name | Description | Options | ||||||||
| Rain | Indicate if there is any rain. | No rain Weak rain |
||||||||
| Wind | Indicate if there is any wind. | No wind Weak wind |
||||||||
| Visibility | Indicate the approximate distance within which it is possible to identify species, or an overall description. | Good visibility Moderate visibility |
||||||||
| Cloud cover | Indicate if there are clouds. | 0-33% 33-66% |
||||||||
| Snow | Indicate the amount of snow. | No snow 0-1 cm |
||||||||
| Habitat | ||||||||||
[Top to Settings]
[Back to SHOC Sites RNF protocol]
SHOC_SITE Import a shapefile
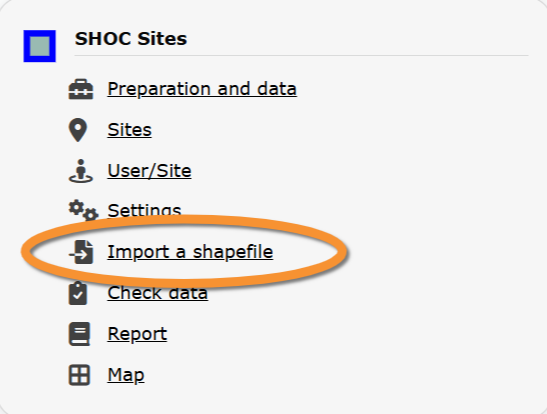
SHOC Sites. Import a shapefile.
Import a shapefile with the study site and/or see all imports.
Visit wiki section Administration > Protocol management > Settings > Import a shapefile.
[Top to Import a shapefile]
[Back to SHOC Sites]
SHOC_SITE Check data
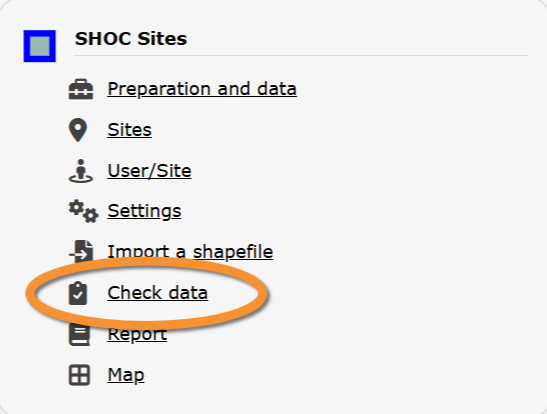
SHOC Sites. Check data.
Visualise a summary of survey data.
Visit wiki section Administration > Protocol management > Check data for more information.
[Top to Check data]
[Back to SHOC Sites protocol]
SHOC_SITES Report
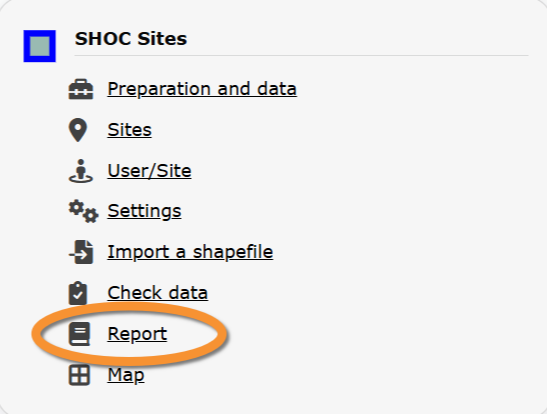
SHOC Sites. Report.
Visualise pooled results from surveys.
Visit wiki section Administration > Protocol management > Report for more information.
[Top to Report]
[Back to SHOC Sites protocol]
SHOC_SITE Map
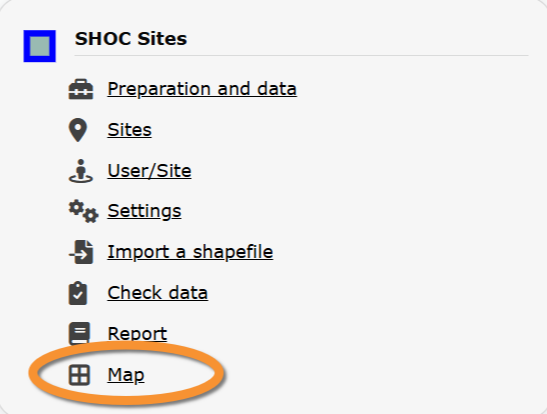
SHOC Sites. Map.
Display the area map by polygon, and see its statistics.
Visit wiki section Administration > Protocol management > Map for more information.
[Top to Map]
[Top to SHOC Sites protocol]
[Back to Protocols management]