SHOC (Admin): Difference between revisions
| Line 420: | Line 420: | ||
Visit wiki section Administration > Protocol management > Settings > [[Protocol_management#Import_a_shapefile_settings|Import a shapefile]]. <br/> | Visit wiki section Administration > Protocol management > Settings > [[Protocol_management#Import_a_shapefile_settings|Import a shapefile]]. <br/> | ||
<br/> | <br/> | ||
<span id="Check data"></span> | <span id="Check data"></span> | ||
Revision as of 15:14, 13 October 2025
SHOC
Protocol where the study site is randomly selected within a 10 km radius from the point the user selected. Both the user and the administrator can create a study site.
Access your protocol from Menu > Take part > All my protocol > SHOC
For other options, visit wiki section Administrators > Protocols > Accessing protocols.
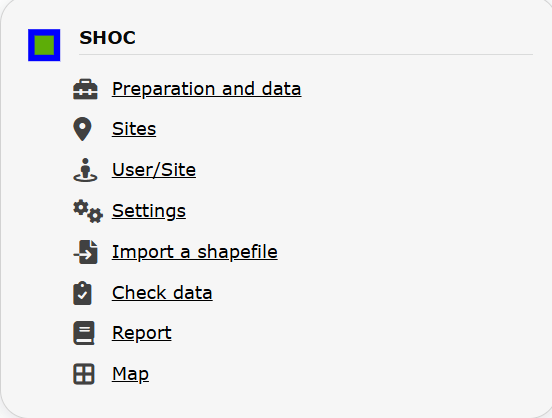
SHOC. Admin menu.
42 SHOC
-
42.1 Preparation and data
42.2 Sites
42.3 User/Site
- 42.3.1 Access to sites
42.3.2 Admin users rights
40.3.3 Management of refused squares
40.3.4 Map of refused squares
-
42.4 Settings
42.5 Import a shapefile
42.5 Check Data
42.6 Report
42.7 Map
SHOC Preparation and data
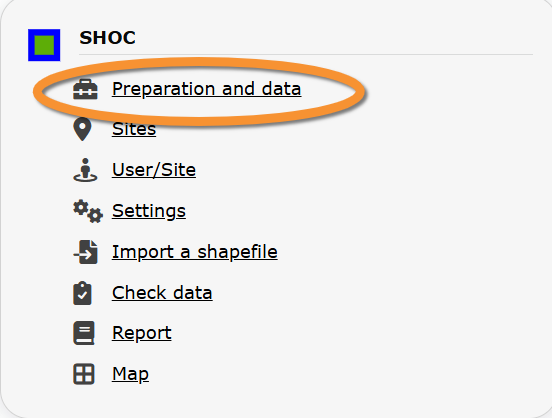
SHOC. Preparation and data.
Identical section to the one available to registered users with rights to the SHOC.
See wiki section Web interface > Protocols > SHOC > Preparation and data for more information.
SHOC Sites
CREATE A NEW SITE:
1. Directly by Transmit my sightings map
or
through Menu > Administration > Protocol administration > SHOC > Sites> +NEW button
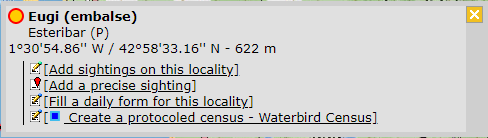
2. Select new site as if Submitting records
3. Choose Create a protocoled census -SHOC
4. Select one of the two random squares.
5. Name the new site
5. Draw transects or import shapefile
6. SAVE

SHOC. Sites.
List of all existing sites allowing a SHOC protocol.
Visit wiki section Administration > Protocol management > Sites for more information.
Both users and administrators can create a new site. Visit wiki section Web interface > Local portal > Protocols > SHOC > Selection of study site.
SHOC User/Site
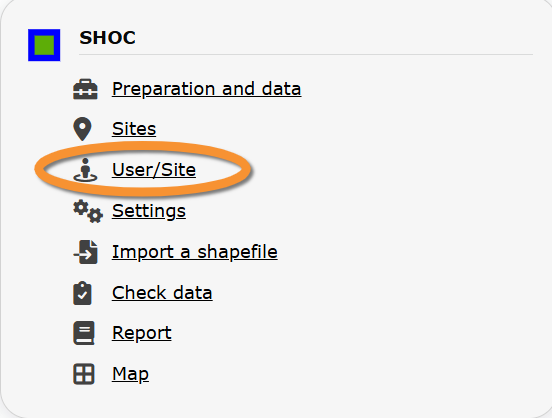
SHOC. User/Site.
From the menu, select User / Site to assign users to study sites.
Access to sites
Visit wiki section Administration > Protocol management > User/Site > Access to sites for more information.
Admin users rights
Visit wiki section Administration > Protocol management > User/Site > Admin users rights for more information.
Administrators can assign specific squares to specific users.
Go to the bottom of the page and
1. select user name from the expandable menu,
2. type square id on the left and/or select from the expandable menu on the right, and
3. press +ADD.

Assigning a square to a user.
1. User name: Select from expandable menu.
2. Square ID: Type square number (2a) and/or select from expandable menu (2b).
3. ADD: Add.
Management of refused squares
List of refused squares.
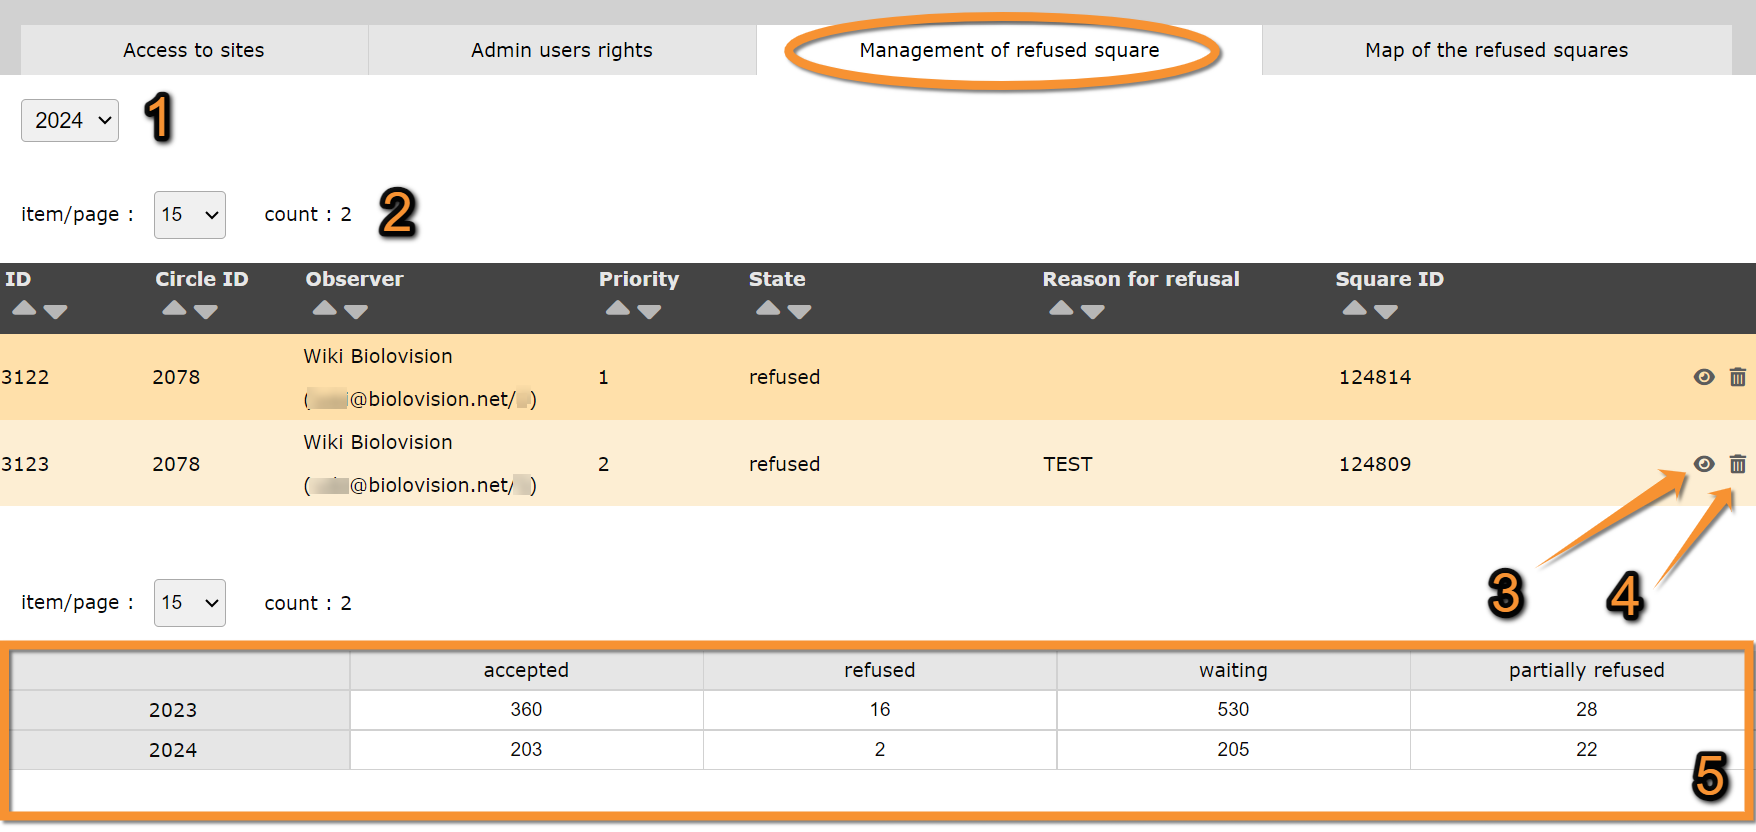
Management of refused squares.
1. Year
2. Search
3. Details
4. Delete
5. Summary
ID: Entry number. Determined automatically.
Circle ID: Circle number. Determined automatically.
Observer: Name, email address and member number of observer.
Priority: Indicates the order in which the square was rejected.
State: Indicates state of square.
Reason for refusal: Reason the observer gave to refuse the square. Only the second refused square in one same circle contains a reason.
Square ID: Square number. Determined automatically.
- 1. Year
Select from the expandable menu the year to visualise.
- 2. Search
Select page number and/or number of items per page.
- 3. Details
See details fo refused square.
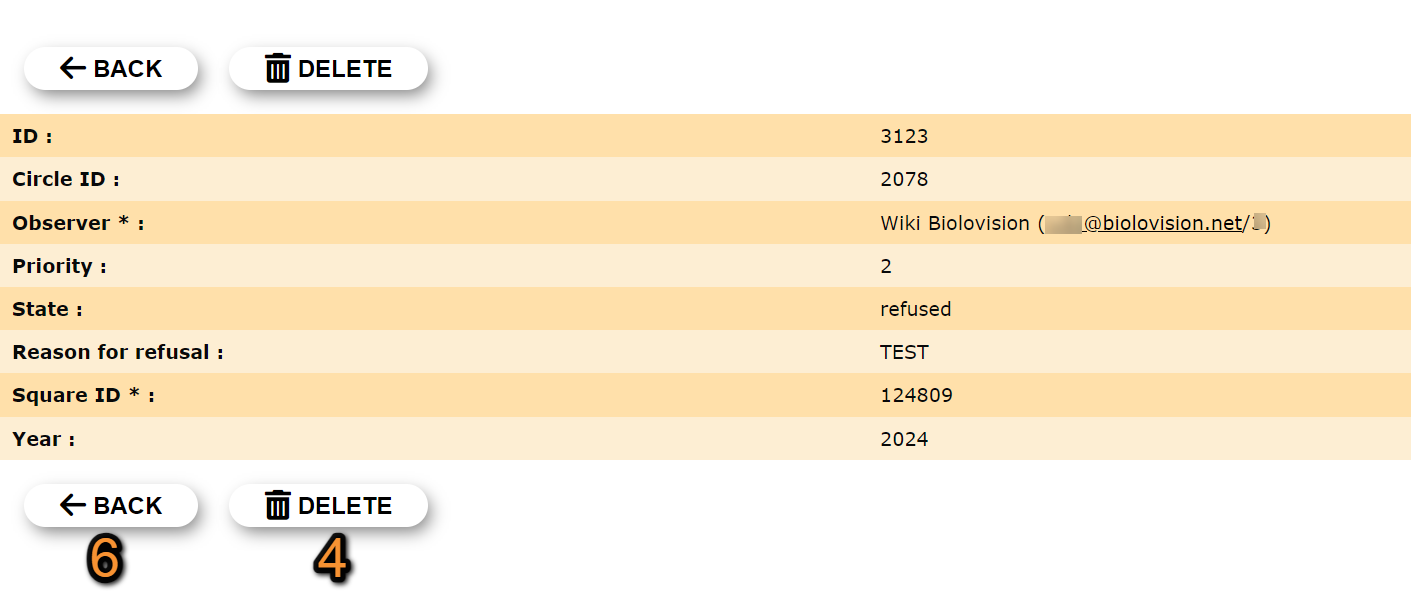
- 4. Delete
Delete square.
· It is only possible to delete squares with no observations.
· It deletes both squares on the same area to free the area to other users.
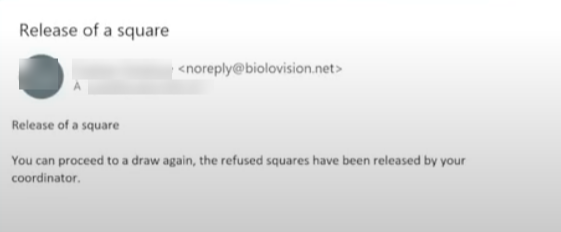
· The user receives an email confirming their refusal has been accepted.
Confirm when prompted.
- 5. Summary
Summary of accepted and refused squares for all years.

Summary of refused squares.
1. Accepted: Total number of accepted squares.
2. Waiting: Total number of squares pending validation.
3. Partially refused: Total number of squares in which one was accepted and one refused.
4. Refused: Total number of refused squares.
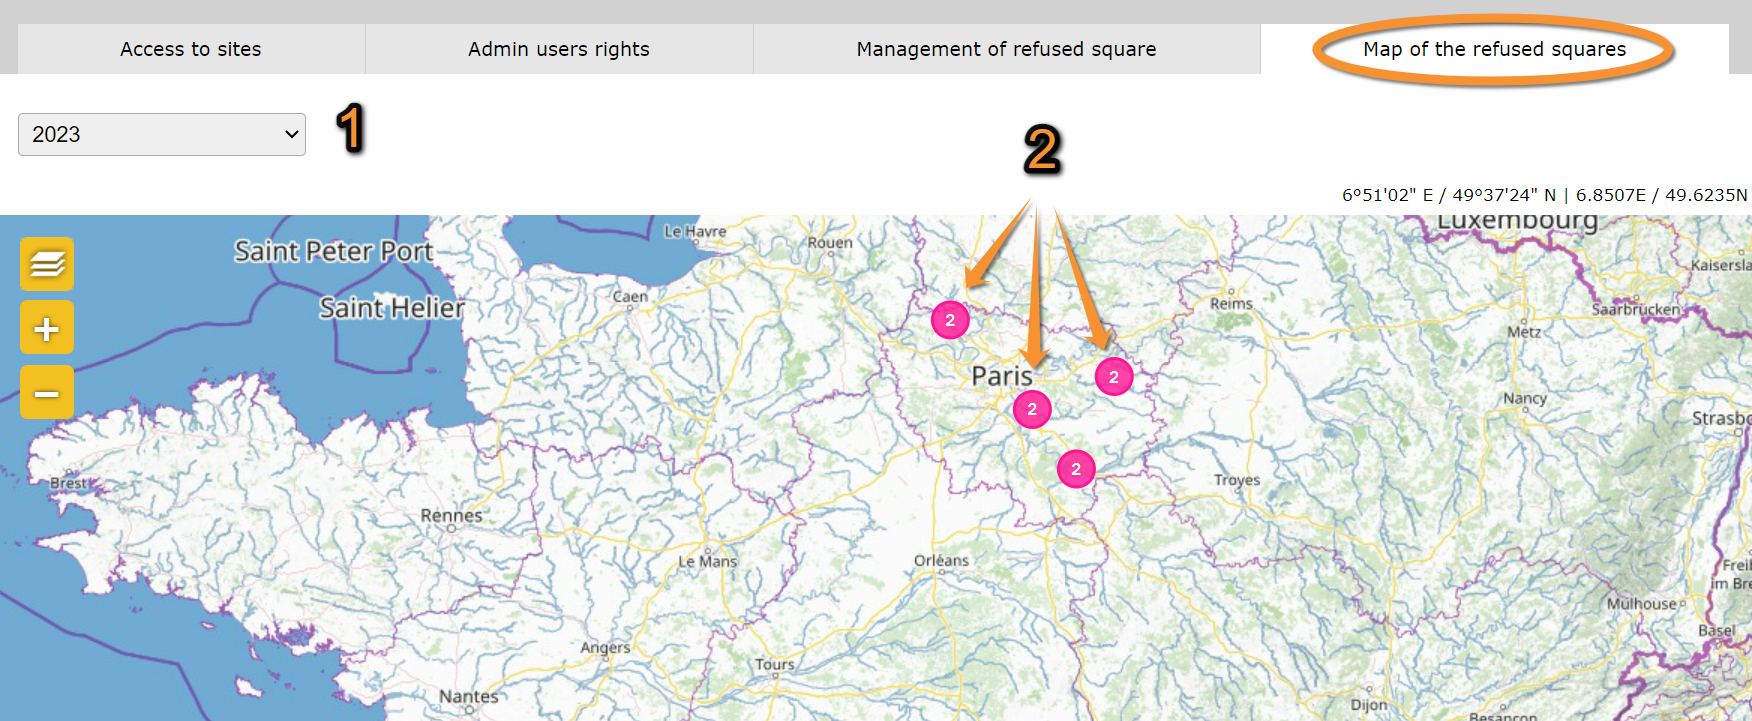
Map of refused squares
See refused squares on a map.
- 1. Year
Select from the expandable menu the year to visualise.
- 2. Number of refused squares
2a. Zoom in to see the exact position of the desired square and its details. Visit wiki section Web interface > Local portal > Navigating the map to know how to move through the map, if necessary.
2b. Click on the desired square to open details (se image below).
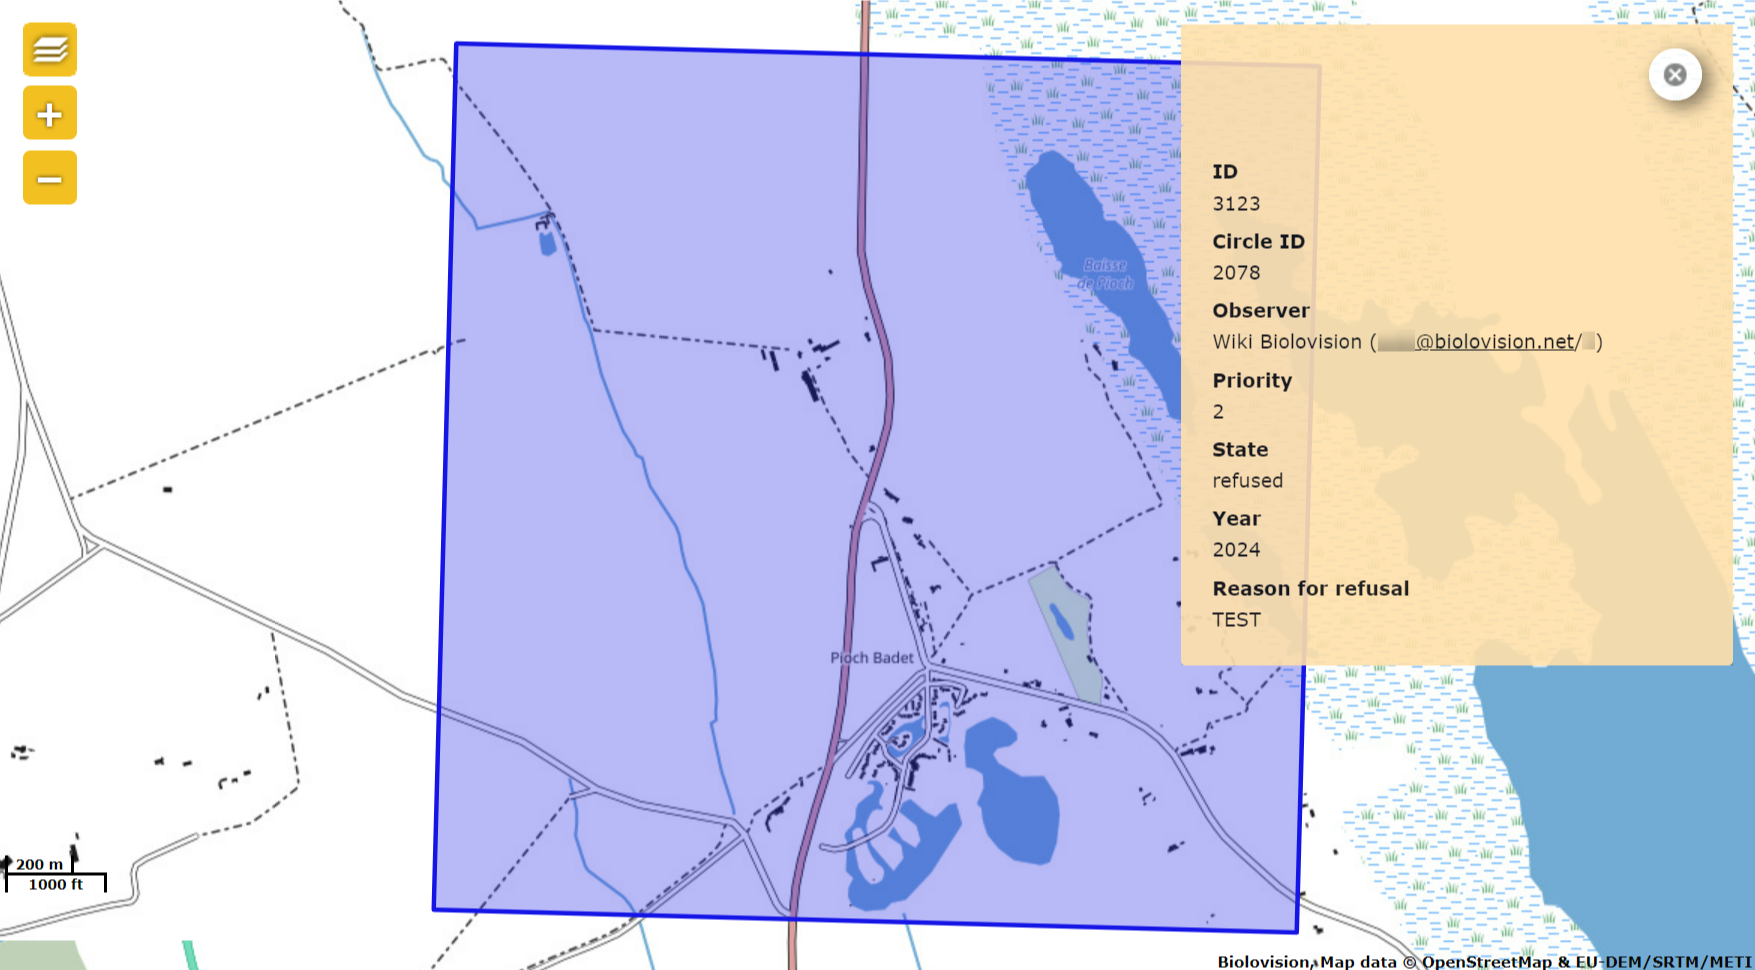
Details of refused square on a map.
[Top to User/Site]
[Back to SHOC protocol]
SHOC Settings
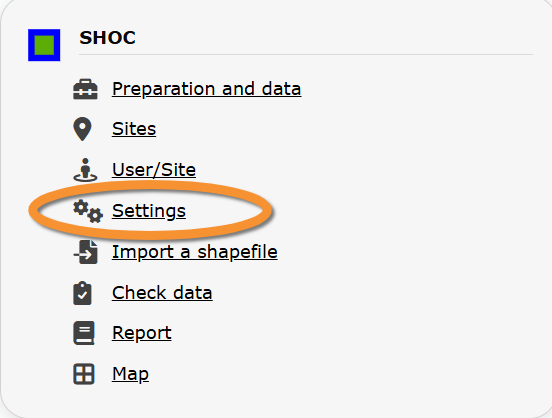
SHOC. Settings.
Set protocol parameters.
Visit wiki section Administration > Protocol management > Settings for details.
Parameters describing the protocol
Expand the table below to see all posible parameters and options available for the SHOC Sites RNF protocol. Use arrows on headers to alternate between ascending and descending alphabetical order.
| SHOC Sites RNF. Parameters. | ||||||||||
|---|---|---|---|---|---|---|---|---|---|---|
| Name | Description | Options | ||||||||
| Rain | Indicate if there is any rain. | No rain Weak rain |
||||||||
| Wind | Indicate if there is any wind. | No wind Weak wind |
||||||||
| Visibility | Indicate the approximate distance within which it is possible to identify species, or an overall description. | Good visibility Moderate visibility |
||||||||
| Cloud cover | Indicate if there are clouds. | 0-33% 33-66% |
||||||||
| Snow | Indicate the amount of snow. | No snow 0-1 cm |
||||||||
| Habitat | ||||||||||
[Top to Settings]
[Back to SHOC protocol]
SHOC Import a shapefile

SHOC. Import a shapefile.
Import a shapefile with the study site and/or see all imports.
Visit wiki section Administration > Protocol management > Settings > Import a shapefile.
SHOC Check data

SHOC. Check data.
Visualise a summary of survey data.
Visit wiki section Administration > Protocol management > Check data for more information.
SHOC Report

SHOC. Report.
Visualise pooled results from surveys.
Visit wiki section Administration > Protocol management > Report for more information.
SHOC Map
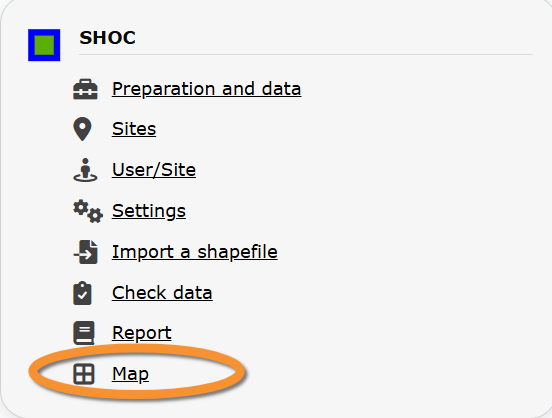
SHOC. Map.
Display the area map by polygon, and see its statistics.
Visit wiki section Administration > Protocol management > Map for more information.