QR Code management/fr
Administration > QR code management
Créez un code QR pour partager les observations d'une zone spécifique (par ex. réserve naturelle, point d’intérêt, localité, etc.) avec d’autres naturalistes, qu’ils soient utilisateurs de NaturaList ou non.
· Il donne un accès direct aux dernières observations de ce lieu.
· Il met en valeur les efforts de conservation et les partenariats de soutien sur le terrain.
La création de codes QR nécessite des autorisations spéciales. Veuillez contacter l’administrateur de votre site web si nécessaire.
Une fois l’accès accordé, vous pouvez :
· créer un nouveau lieu et générer un code QR pour celui-ci, ou
· sélectionner un lieu existant et générer le code QR correspondant.
Voir les sections suivantes pour créer et gérer des codes QR.

Gestion des codes QR.
Pour créer un code, prenez en compte les points suivants :
· Assurez-vous qu’il y a un accès à internet à l’endroit où vous souhaitez afficher le code QR, par ex. 3G/4G…
· Veillez à sa bonne visibilité : évitez les reflets, créez-le et imprimez-le dans une taille suffisante, laissez un espace vide autour, vérifiez le contraste…
· Indiquez à quoi sert le code QR.
· Téléchargez le logo NaturaList pour l’imprimer à côté du code QR.
style="width:300px;margin-bottom:0px;margin-top:0px;background-color:#f7f7f7;">
Sommaire
Création de codes QR
Créer un nouveau code QR.
La création d’un code QR nécessite des droits spécifiques.
Contactez votre administrateur local concernant ces droits.
Pour créer un nouveau code QR :
1. Accédez à Administration > Gestion des codes QR > Lieux et création de codes QR.
2. Cliquez sur + NEW en bas de la page.
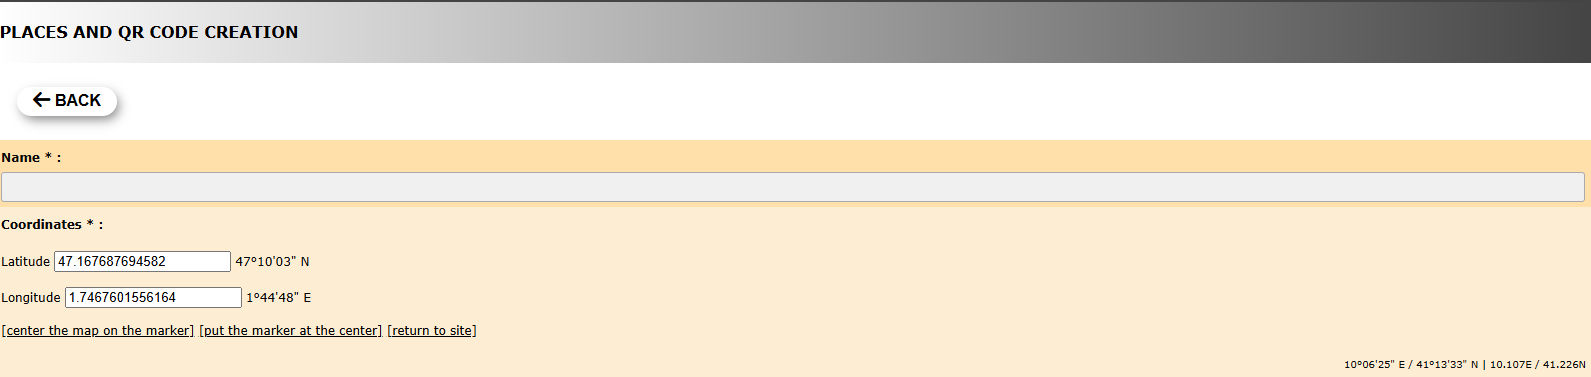
1. Renseignez les informations de base du site : nom et coordonnées.
· Saisissez les coordonnées ou sélectionnez-les sur la carte ci-dessous. Consultez l’aide sur la navigation dans la carte si nécessaire.
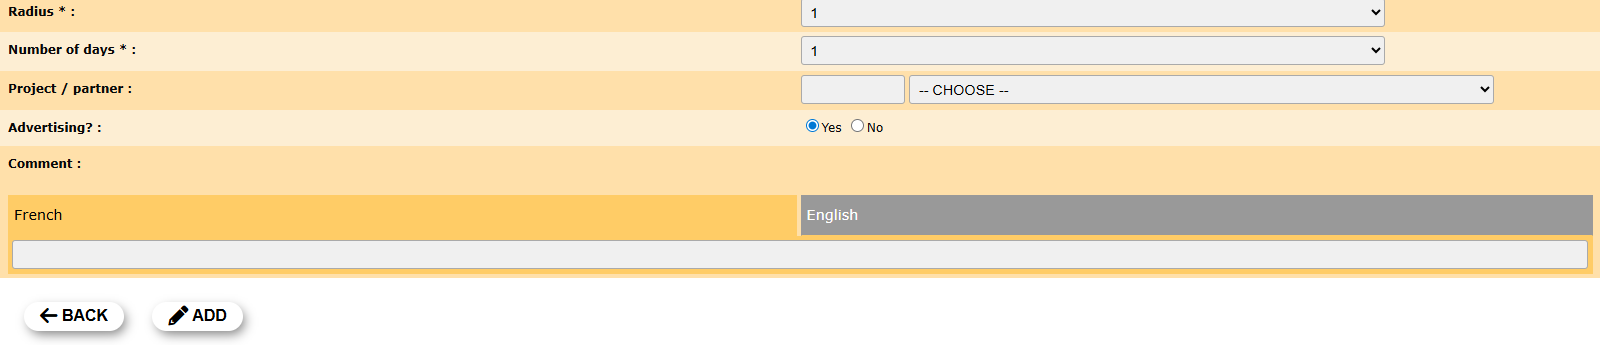
2. Définissez les paramètres du code QR pour le site :
· Rayon : sélectionnez dans le menu déroulant le rayon autour des coordonnées indiquées, qui délimite la zone à laquelle le code QR s’applique.
· Nombre de jours : sélectionnez dans le menu déroulant le nombre de jours pendant lesquels le code QR sera valable.
· Projet / partenaire : saisissez le nom, ou une partie du nom, du projet ou du partenaire dont l’icône sera affichée lors du scan du code QR dans le champ de gauche, puis sélectionnez le nom du projet/partenaire dans le menu déroulant de droite.
· Publicité ? : cochez cette option s’il y a une publicité ou un partenaire.
· Commentaire : ajoutez un commentaire si nécessaire. Sélectionnez la langue dans les onglets et saisissez le commentaire dans la langue choisie (voir l’image comme exemple).
3. Une fois terminé, cliquez sur AJOUTER.
[Haut de la section Création de codes QR]
[Retour à la gestion des codes QR]
Lieux et création de codes QR
Voir les QR codes existants.
|
Menu de création de codes QR 1.
1. Recherche
ID : numéro attribué automatiquement à cette entrée QR. |


1. Recherche
Réduisez la liste en saisissant le nom d’un lieu, d’un utilisateur, ou une partie de celui-ci, puis cliquez sur RECHERCHER.
Lorsqu’un filtre est appliqué et que vous souhaitez le désactiver, cliquez sur TOUS pour afficher la liste complète.
2. Page et éléments
Sélectionnez le numéro de page et/ou le nombre d’éléments par page. Le compteur indique le nombre total d’éléments trouvés pour la recherche.
3. Détails
Voir les détails du code QR et générer le code si nécessaire.
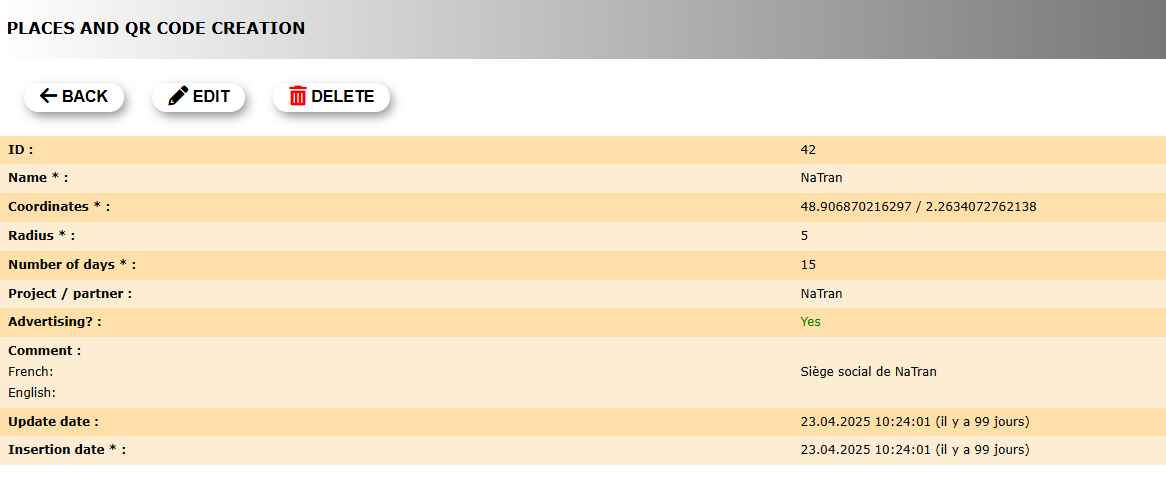
Détails du code QR.
ID : numéro attribué automatiquement pour identifier ce code QR.
Nom : nom donné au code QR.
Coordonnées : coordonnées au centre de la zone à laquelle le code QR s’applique.
Rayon : rayon à partir des coordonnées délimitant la zone à laquelle le code QR s’applique.
Nombre de jours : nombre de derniers jours couverts par le code QR.
Projet / partenaire : nom du collaborateur, le cas échéant.
Publicité ? : indique s’il y a une publicité associée.
Commentaire : commentaire laissé par le créateur, le cas échéant, dans les langues choisies lors de la création du code QR.
Date de mise à jour : date de la dernière mise à jour.
Date d’insertion :
BACK : retourne à l’écran précédent sans enregistrer.
EDIT : modifie l’un des champs.
DELETE : supprime le code QR.
Créer un code QR pour ce lieu
Pour générer un code QR :
1. Sélectionnez la taille du code QR dans le menu déroulant.
2. Cochez la case Arrière-plan transparent ? si souhaité.
3. Consultez les recommandations si nécessaire.
4. Générez le code.
5. Téléchargez le logo NaturaList pour le placer à côté de votre code QR.
Pour générer un code QR:
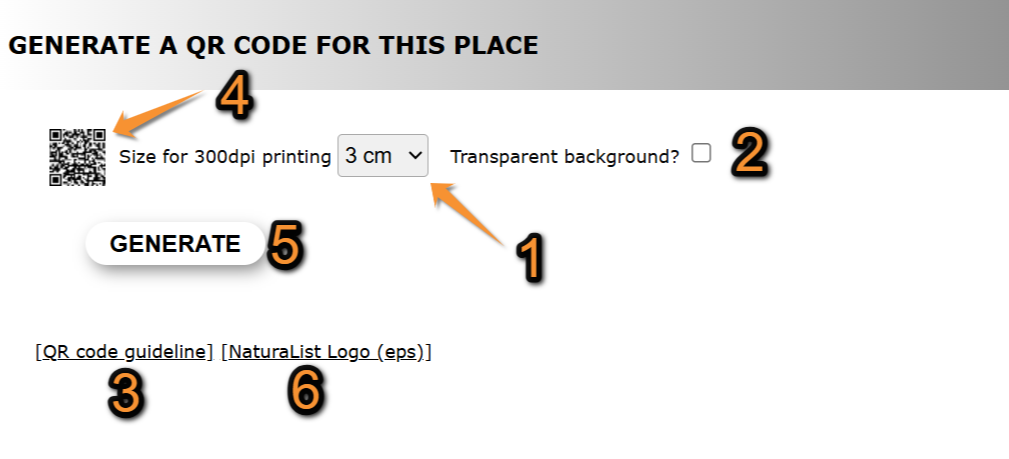
Générer un code QR.
1. Choisir la taille.
2. Choisir la transparence.
3. Consulter les recommandations.
4. Voir le résultat final.
5. Générer le code.
6. Ajouter le logo NaturaList.
1. Sélectionnez la taille du code QR dans le menu déroulant.
2. Cochez la case Arrière-plan transparent ? si souhaité.
|
Code QR normal (case non cochée). Exemple. |
Transparent QR code (Checked cell). Example. |
3. Check guidelines if necessary.
· Make sure there is internet where you intend to post the QR code. Ie. 3G/4G...
· Control its visibility: avoid reflection, create and print large enough, leave empty space around it, control the contrast...
· Say what the QR code is for.
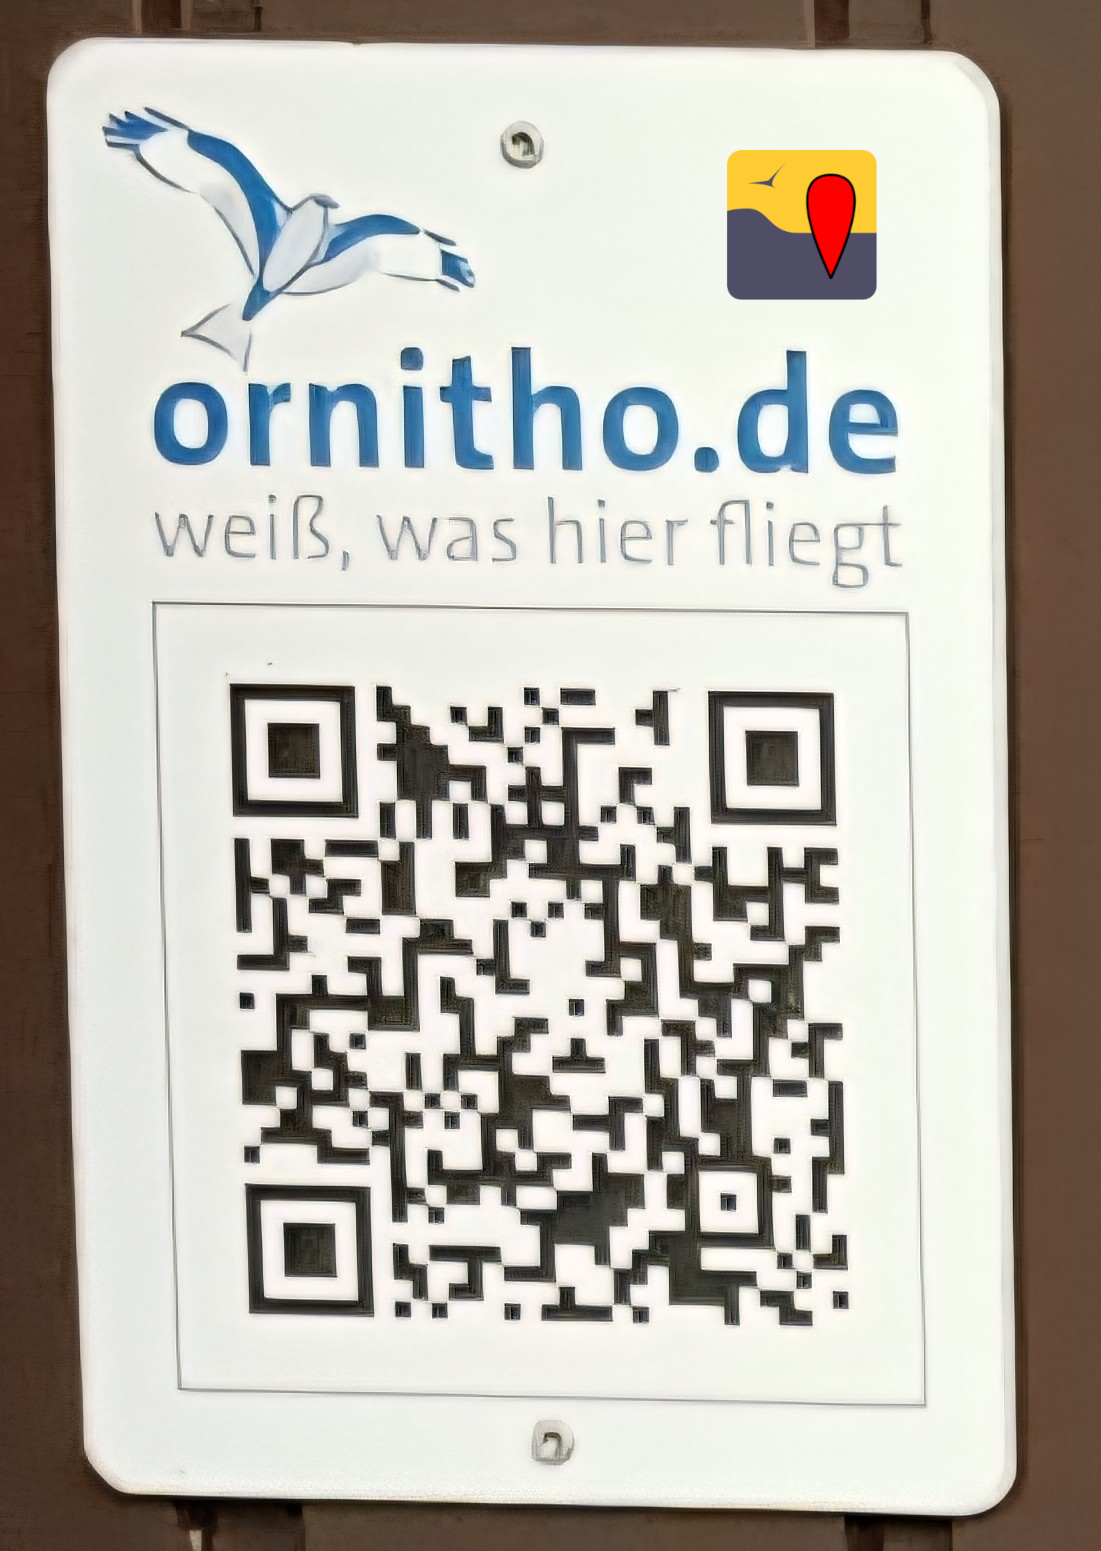
4. Click on the QR to see final result.

Final result. Example.
5. Generate the code.
6. Download NaturaList code to place it next to your QR.
4. Edit
Modify information of a QR code.
1. Modify if necessary site's basic details: Name and coordinates.
· Type new coordinates or select from the map below. See wiki section Web interface > Local portal > Navigating the map to know how to navigate the map if necessary.
2. Modify QR parameters for the site:
· Radius: Select from the expandable menu the radius from given coordinates delimiting the area the QR code applies to.
· Number of days: Select from the expandable menu the number of days the QR will be valid.
· Project / partner: Type the name, or part of the name, of the project or partner whose icon will be displayed when scanning the QR code on the left hand field, and select the project/partner name from the expandable menu on the right.
· Advertising?: Check if the QR code contains any publicity.
· Comment: Leave a comment if appropriate. Select the name of the language from the taps and type a comment in the language selected (see image as an example).
3. When done, press ADD.
Create a new QR code.
5. Delete
Use ![]() to delete the selected QR code.
to delete the selected QR code.
See a summary of QR details and
· Press YES to definitely delete the QR code, or
· Press NO to cancel delete and keep the QR code.
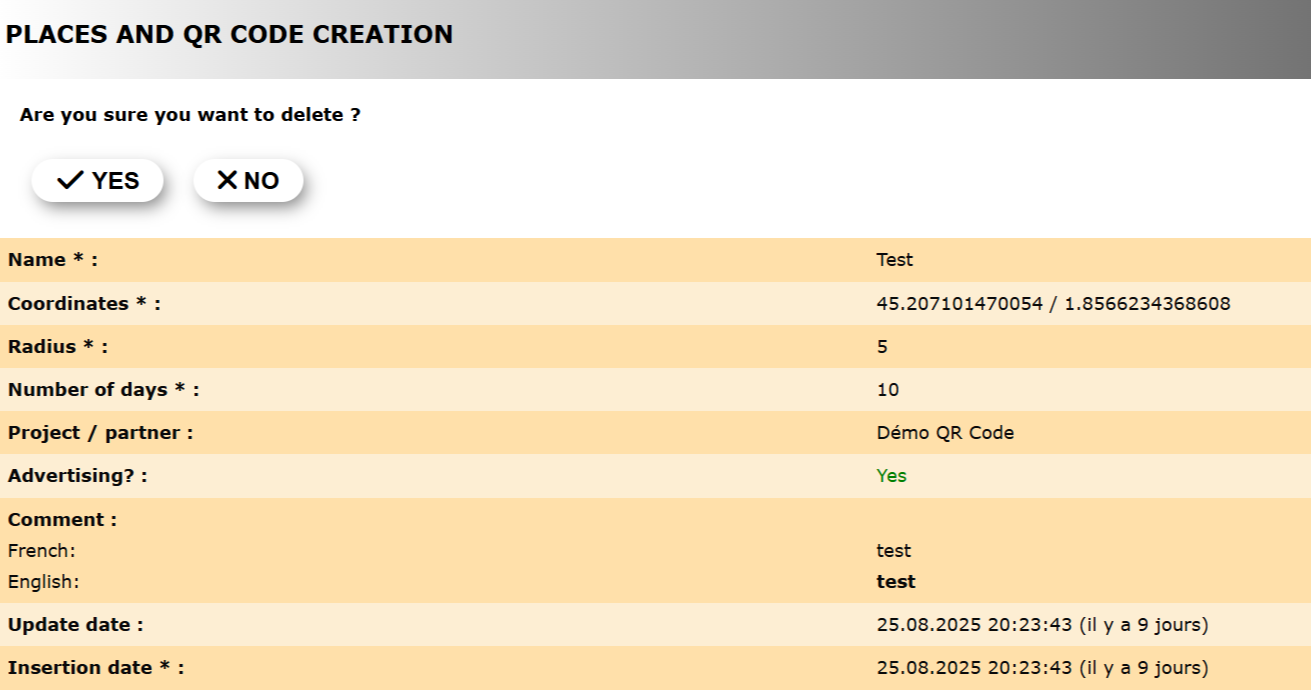
Delete QR code.
6. New
Create a new QR code.
1. Provide site's basic details: Name and coordinates.
· Type coordinates or select from the map below. See to know how to navigate the map if necessary.
2. Set QR parameters for the site:
· Radius: Select from the expandable menu the radius from given coordinates delimiting the area the QR code applies to..
· Number of days: Select from the expandable menu the number of days the QR will be valid.
· Project / partner: Type the name, or part of the name, of the project or partner whose icon will be displayed when scanning the QR code on the left hand field, and select the project/partner name from the expandable menu on the right.
· Advertising?: Check if there is any advertising or partner.
· Comment: Leave a comment if appropriate. Select the name of the language from the taps and type a comment in the language selected (see image as an example).
3. When done, press ADD.
Create a new QR code.
7. Export
Export details of existing QR codes on the local portal as a .txt file.
8. Export views
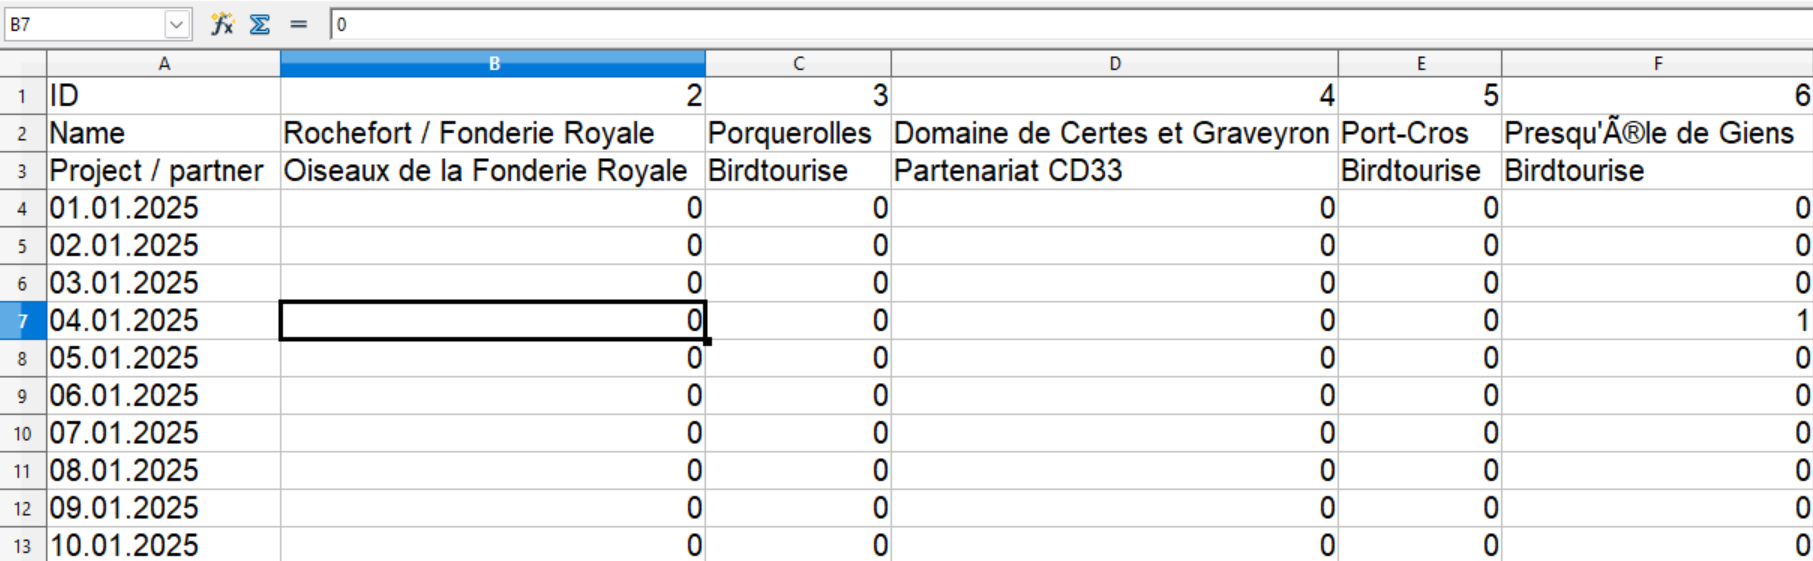
Export a .txt file summarising number of visits each QR code in the local portal had.
Downloading the .txt requires identification.
It can later be displayed on an excel sheet. See here an example.
1. Select the year to download visits from the expandable menu.
2. Press EXPORT VIEWS

Export views of QR codes.
1. Select the year to visualise the data.
2. Start download.
QR code group
List or partners and projects participating in QR codes in this local portal.
Creating a group/project allows:
· to link QR codes to a specific group or project.
This makes it easier to use the search tool in the Places section and in the QR code creation panel to find all related QR codes.
· to display on a map codes belonging to the group.

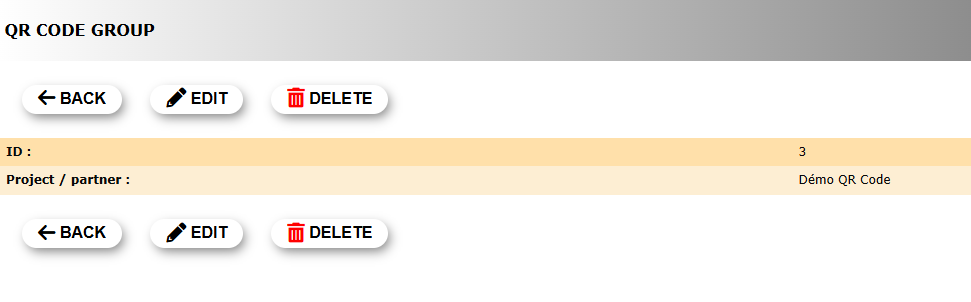
1. Details
See details of the selected QR partner.
2. Edit
Modify name of partner or project.

QR Code group. Edit.
Project/Partner: Name of the project or partner selected.
BACK: Go back to previous screen without saving.
MODIFY: Save changes.
3. Delete
Press ![]() to delete the selected partner or project.
to delete the selected partner or project.
· Press YES to definitely delete the project/partner, or
· Press NO to cancel delete and keep the project/partner.
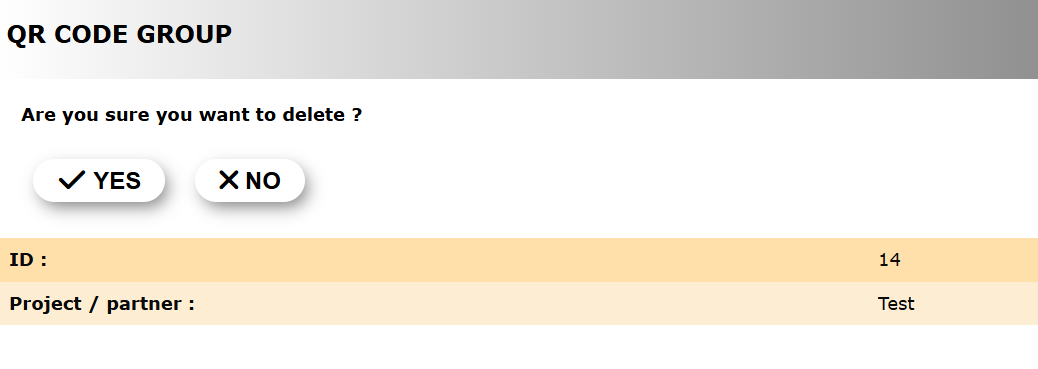
QR Code group. Delete.
4. Map
Indicates if a QR code group will be displayed on the map.
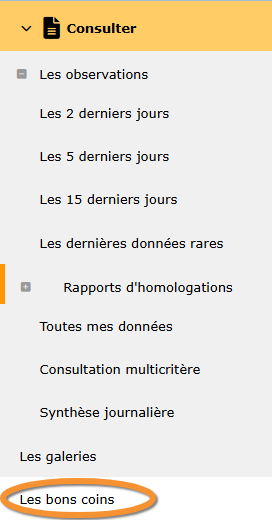
· Access the map at Menu > Consulting > Les bons coins.
· Only one map per local portal is possible.
· It can display one or several QR code projects at the same time, and each item is clickable.
· Saved quick-search polygons created in the search engine may also appear in blue in the map.
· The feature needs to be activated.
At the moment, it is only available at www.ornitho.ch in French. Contact Biolovision to activate it in your local portal.
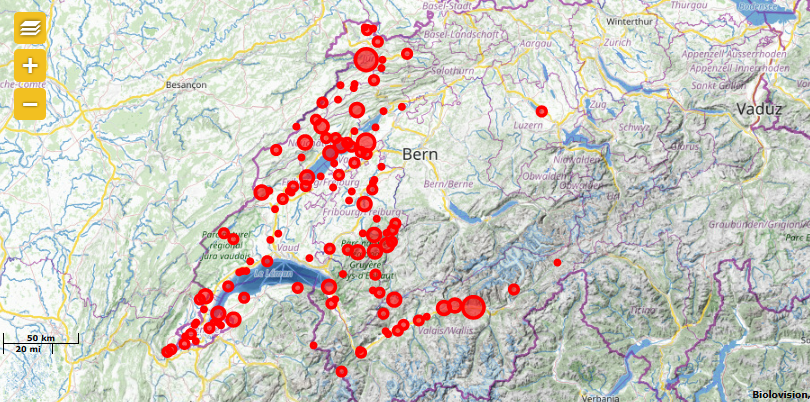
QR codes group map.
NOTE
· Only one map per local portal is possible.
· At the moment, it is only available at www.ornitho.ch in French.
· Contact Biolovision to activate it in your local portal.
5. New
Create a new Partner or project.
1. Type the name of partner or project involved.
2. Press ADD to save the new partner/project.
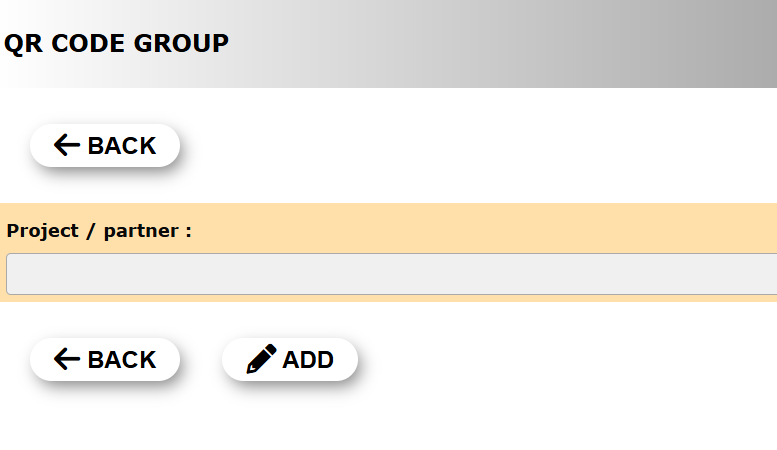
QR Code group. Delete.
Project/Partner: Type the name of the project or partner participating on the QR code.
BACK: Go to previous screen without saving.
ADD: Save new project/partner.
Advertising
List of logos of advertising parties.

Advertisers' logos are displayed on the main screen when scanning the QR code.

Example advertising.
To insert advertising,
1. upload a logo (recommended 420 px wide).
2. assign the logo to a specific place.
1. Details
See logo and insertion date of advertiser.
2. Edit
Modify advertiser logo.
1. Press Choose from and
2. Select the logo to upload from your computer.
3. Press MODIFY to change logo.
The new logo will appear directly on the main list.

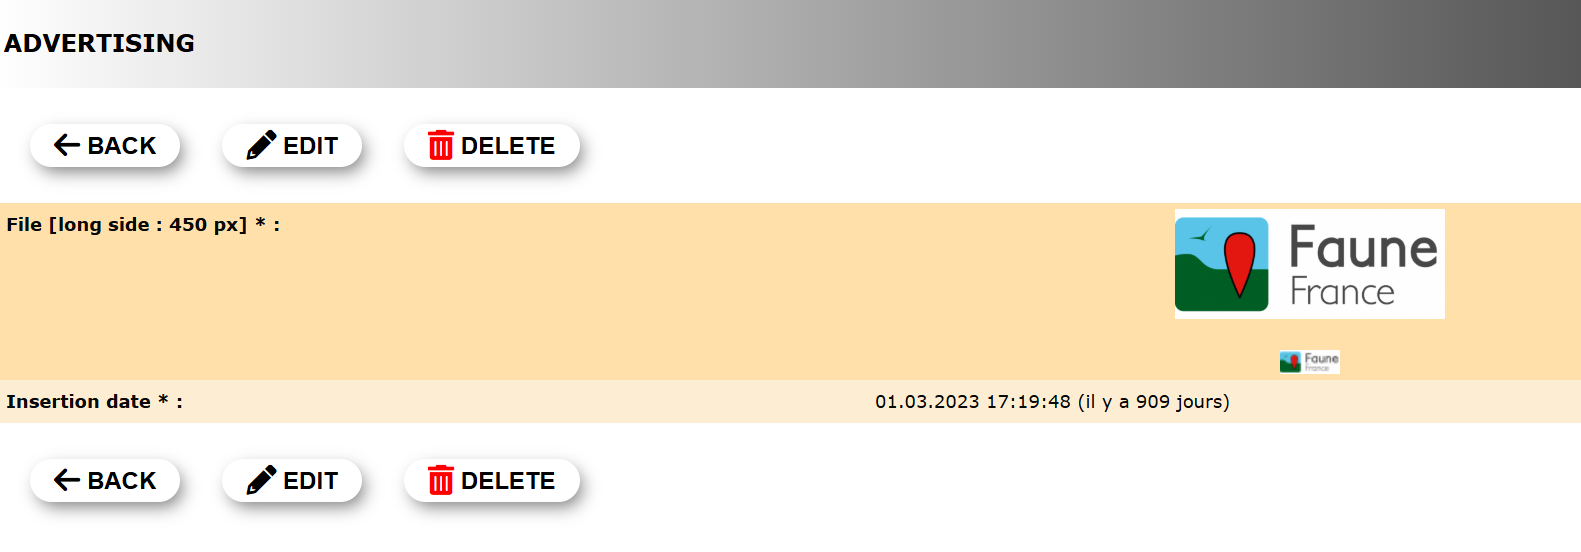
Advertising. Edit.
BACK: Go to previous screen without saving.
MODIFY: Save changes.
3. Delete
Use ![]() to delete the selected logo.
to delete the selected logo.
See a summary of QR details and
· Press YES to definitely delete the logo, or
· Press NO to cancel delete and keep the logo.

Advertising. Delete.
4. New
Upload a new advertising logo.
1. Press Choose from and
2. Select the logo to upload from your computer.
. The file name will be shown next to the button (see image below).
· We recommend a width of 420 pixels.
3. Press ADD to upload the new logo.
The new logo will appear directly on the main list.

Advertising. New.
Add advertising to places
Associate an advertising logo to a place.
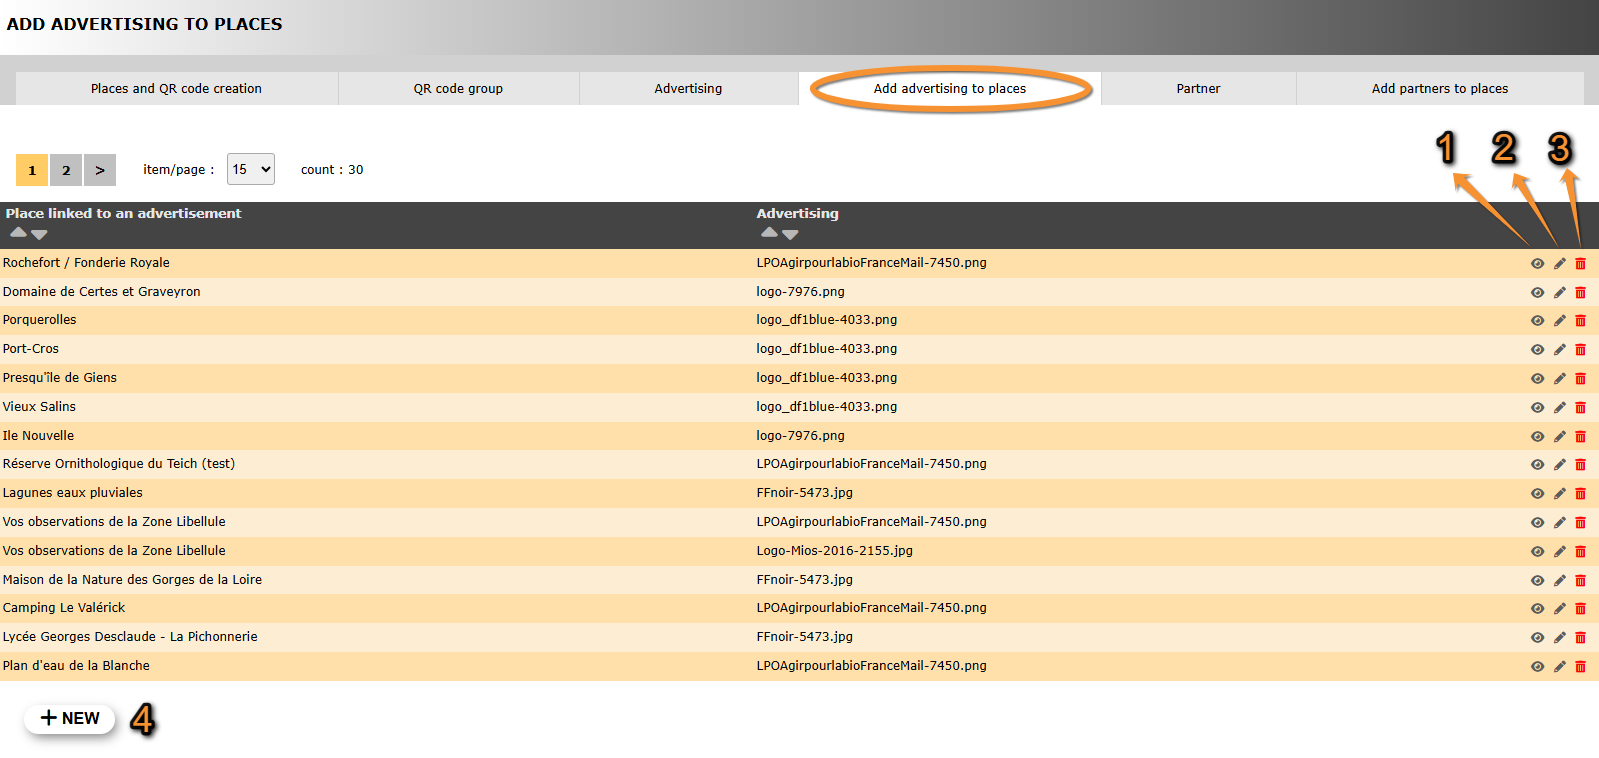
1. Details
See details of selected entry.

2. Edit
Modify place name and/or advertiser's logo, if necessary.
1. Change place name by typing name, or part of it, on the left hand field and selecting from the expandable menu on the right.
2. Change advertiser's logo by typing the logo's file name, or part of it, on the left hand field and selecting from the expandable menu on the right.
Add advertising to place. Edit.
1. Change place name.
2. Change advertiser's logo.
BACK: Go to previous screen without saving.
MODIFY: Save new place name and/or logo.
3. Delete
Use ![]() to delete the selected entry.
to delete the selected entry.
See name and advertiser's logo file and
· Press YES to definitely delete the entry, or
· Press NO to cancel delete and keep the entry.
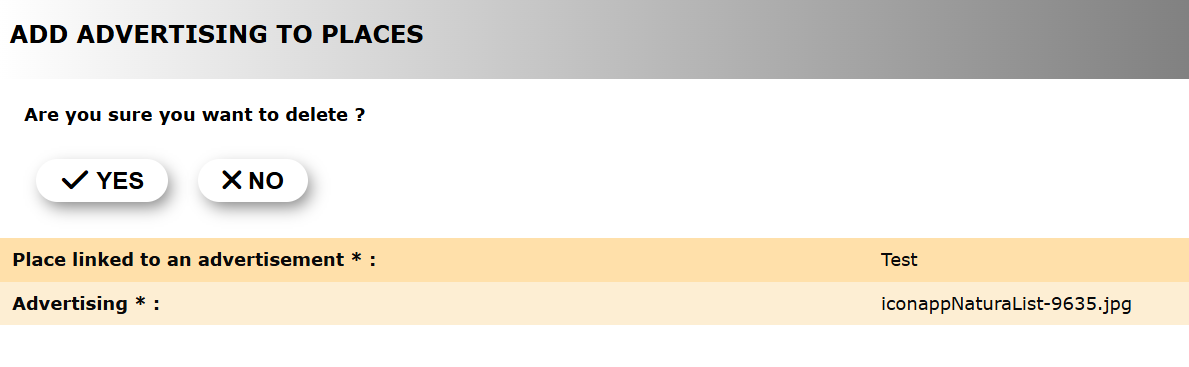
Add advertising. Delete.
4. New
Associate a place to an advertiser's logo.
1. Select place name by typing name, or part of it, on the left hand field and selecting from the expandable menu on the right.
2. Select advertiser's logo by typing the logo's file name, or part of it, on the left hand field and selecting from the expandable menu on the right.

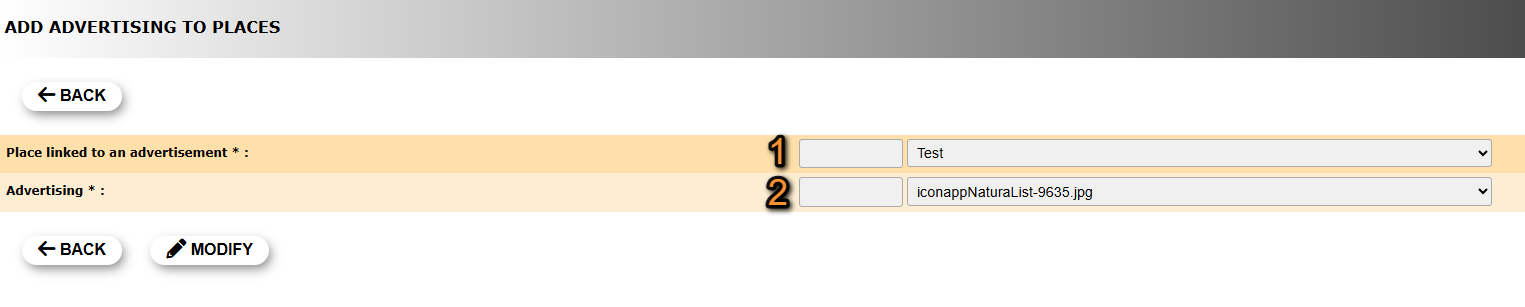
Add advertising. New.
1. Select place name.
2. Select advertiser's logo.
BACK: Go to previous screen without saving.
ADD: Save new place name - logo.
Partner
List of collaborating parties (partners) with their logos and websites.
Partners are non-commercial collaborators. See a list of partners at your local portal > Menu > Useful information > The partners.

Partners' logos are displayed at the bottom of the screen when consulting the list of observations.

Partner logo. Example.
To insert a partner,
1. upload the partner's logo (recommended 420 px wide),
2. insert partner's website,
2. assign the logo to a specific place.
1. Details
See details of selected partner.

2. Edit
Edit details of selected partner.
1. Change partner's logo by typing the logo's file name, or part of it, on the left hand field and selecting from the expandable menu on the right.
1. Change partner's name by typing name, or part of it, on the left hand field and selecting from the expandable menu on the right.

Partner. Edit.
1. Change partner's logo.
2. Change partner's name.
BACK: Go to previous screen without saving.
MODIFY: Save new partner's name and/or logo.
3. Delete
Use ![]() to delete the selected entry.
to delete the selected entry.
See a summary partner's details and
· Press YES to definitely delete the entry, or
· Press NO to cancel delete and keep the entry.

Partner. Delete.
4. New
Create a new entry for a partner.
1. Upload partner's logo:
· Press Choose from and
· Select the logo to upload from your computer.
The file name will be shown next to the button (see image below).
· Press ADD to upload the new logo.
The new logo will appear directly on the main list.
2. Type the partner's website address.

Partner. New.
1. Select advertiser's logo.
2. Type partner's website address.
BACK: Go to previous screen without saving.
ADD: Save new place name - logo.
Add partners to places
List of partner's and the places they are associated to.

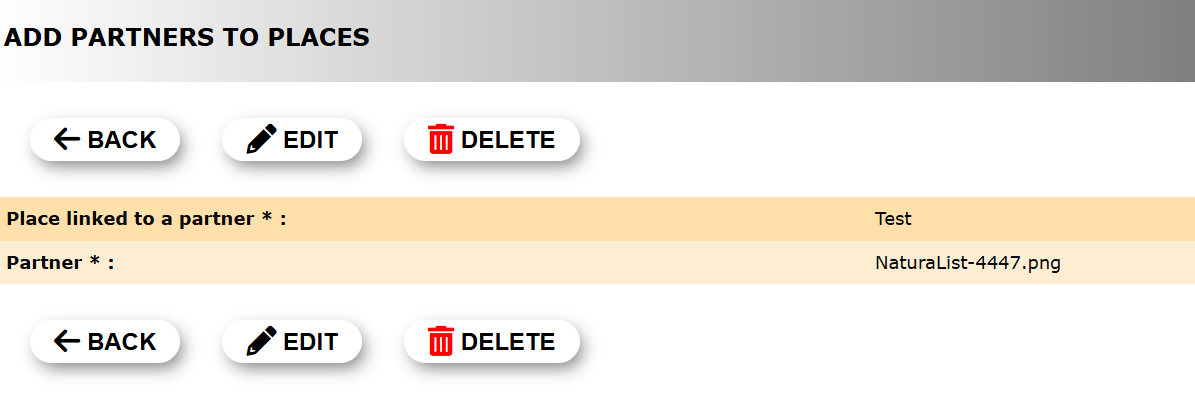
Details
See details of partners's logo files and the places they are associated to.
Edit
Modify the partner's logo and/or name, if necessary.
1. Change place name by typing name, or part of it, on the left hand field and selecting from the expandable menu on the right.
2. Change partner's logo by typing the file name, or part of it, on the left hand field and selecting from the expandable menu on the right.
Add partners to places. Edit.
1. Change place name.
2. Change partner's logo.
BACK: Go to previous screen without saving.
MODIFY: Save new place name and/or logo.
Delete
Use ![]() to delete the selected entry.
to delete the selected entry.
See partner's name and logo file and
· Press YES to definitely delete the entry, or
· Press NO to cancel delete and keep the entry.

Add partners to places. Delete.
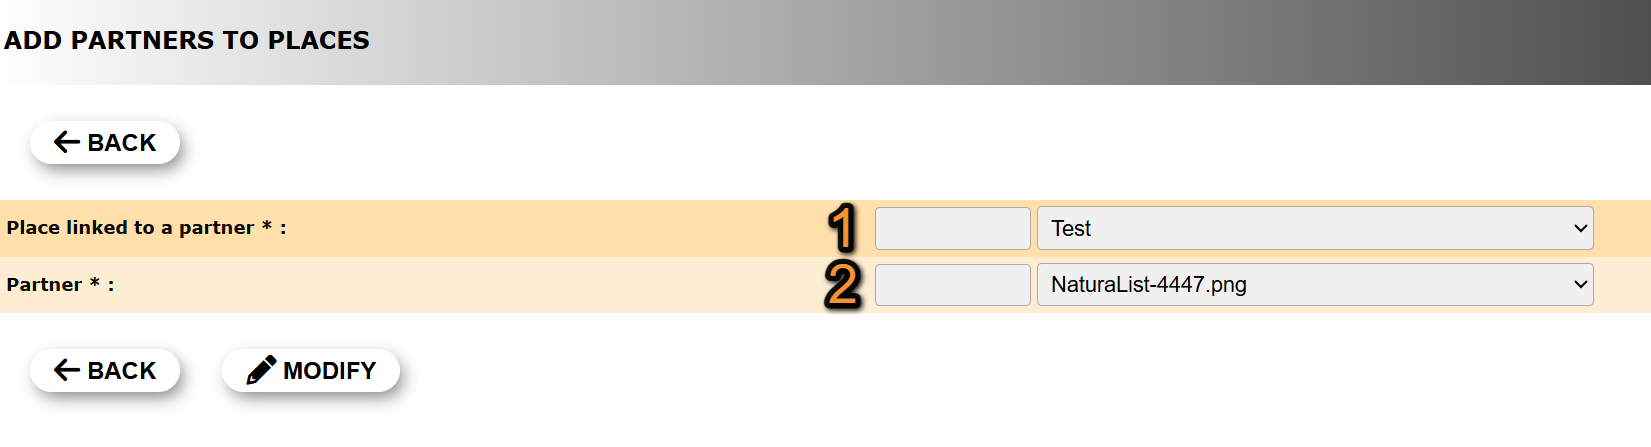
New
Associate a place to a partner's logo.
1. Select place name by typing name, or part of it, on the left hand field and selecting from the expandable menu on the right.
2. Select partner's logo by typing the logo's file name, or part of it, on the left hand field and selecting from the expandable menu on the right.

Add partners to places. New.
1. Select place name.
2. Select partner's logo.
BACK: Go to previous screen without saving.
ADD: Save new place name - logo.