Protocol management
Territory mapping
Waterbird census
To access the adminstration of a protocol you need the Protocol administrator right. Only an Admin of the Local portal can provide you such access, under certain conditions.
If you are an administrator, go to the administration section on the left hand column (see image Administration), and scroll down to Protocol administration. Open panel and select Protocol administration (see image Protocol administration).


Creating a study site
|
CREATE A NEW SITE:
2. Select new site as if Submitting records 3. Choose Create a protocoled census -Waterbird census 4. Name the new site 5. Draw polygon or import shapefile 6. SAVE |

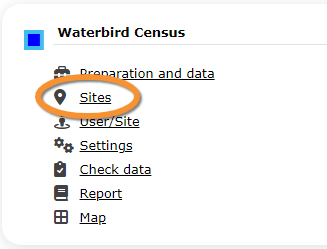
From the Waterbird census menu, select Sites to see a list with all existing sites. On top, type the name of a site, or part of it, and click SEARCH to facilitate teh search, and DISPLAY ALL to see the full list. Select the page number and the number of items per page to ease the search.

- 1. Search
Reduce list by typing the name of a site, or part of it, and click SEACH. When a filter is applied, Click on
DISPLAY ALL.
- 2. Search
Select page number and/or number of items per page.
- 3. Edit
Click to see details of selected site.
- 4. Edit
Click to edit details of selected site.
- 5. New site
Create a new site.
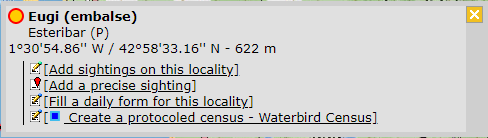
- 1. Click + NEW under the list (see image). Select the site as if entering an observation (see wiki section Web interface > Submitting records if necessary) and choose the new option: Create a protocoled census - Waterbird census (see image below).
- 1. Click + NEW under the list (see image). Select the site as if entering an observation (see wiki section Web interface > Submitting records if necessary) and choose the new option: Create a protocoled census - Waterbird census (see image below).

.
- 2. Enter a name for the new site.
- 2. Enter a name for the new site.

Name of reference locality: Name assigned automatically.
Reference number: Type a name for the new site.
Custom name:
- 3. Either:
- Draw polygon as explained in ... or,
- Draw polygon as explained in ... or,
- 3. Either:
- Import shapefile:
- Import shapefile:

1. Choose datum and
2. upload the file.
3. When done, click IMPORT.
- After a new polygon is created, it is possible to export it as a shapefile to use in the future. Click on the file icon under the Polygon section (see image below, encircled).
- After a new polygon is created, it is possible to export it as a shapefile to use in the future. Click on the file icon under the Polygon section (see image below, encircled).

- 4. When the new site is ready,
- SAVE AND STAY to save the site and continue making changes, or
- SAVE AND ADD A RECORD to save and start entering observations.
- SAVE AND STAY to save the site and continue making changes, or
- 4. When the new site is ready,
- The new site is now created and saved (indicated at the top of the page). You have now the option to delete the newly created site if necessary (see image Deleting a newly created site). Otherwise, go anywhere in the page or start the whole process to create other sites without loosing the new one.
- The new site is now created and saved (indicated at the top of the page). You have now the option to delete the newly created site if necessary (see image Deleting a newly created site). Otherwise, go anywhere in the page or start the whole process to create other sites without loosing the new one.
Setting protocol parameters
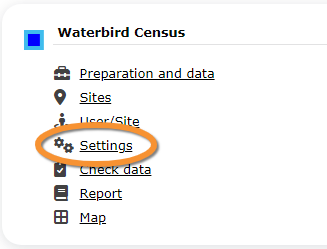
To stablish the starting paremeters of a Waterbird census, choose the protocol you need to work on, in this case, Waterbird census, and select Settings (see image Waterbird census. Menu). Go to parameters


